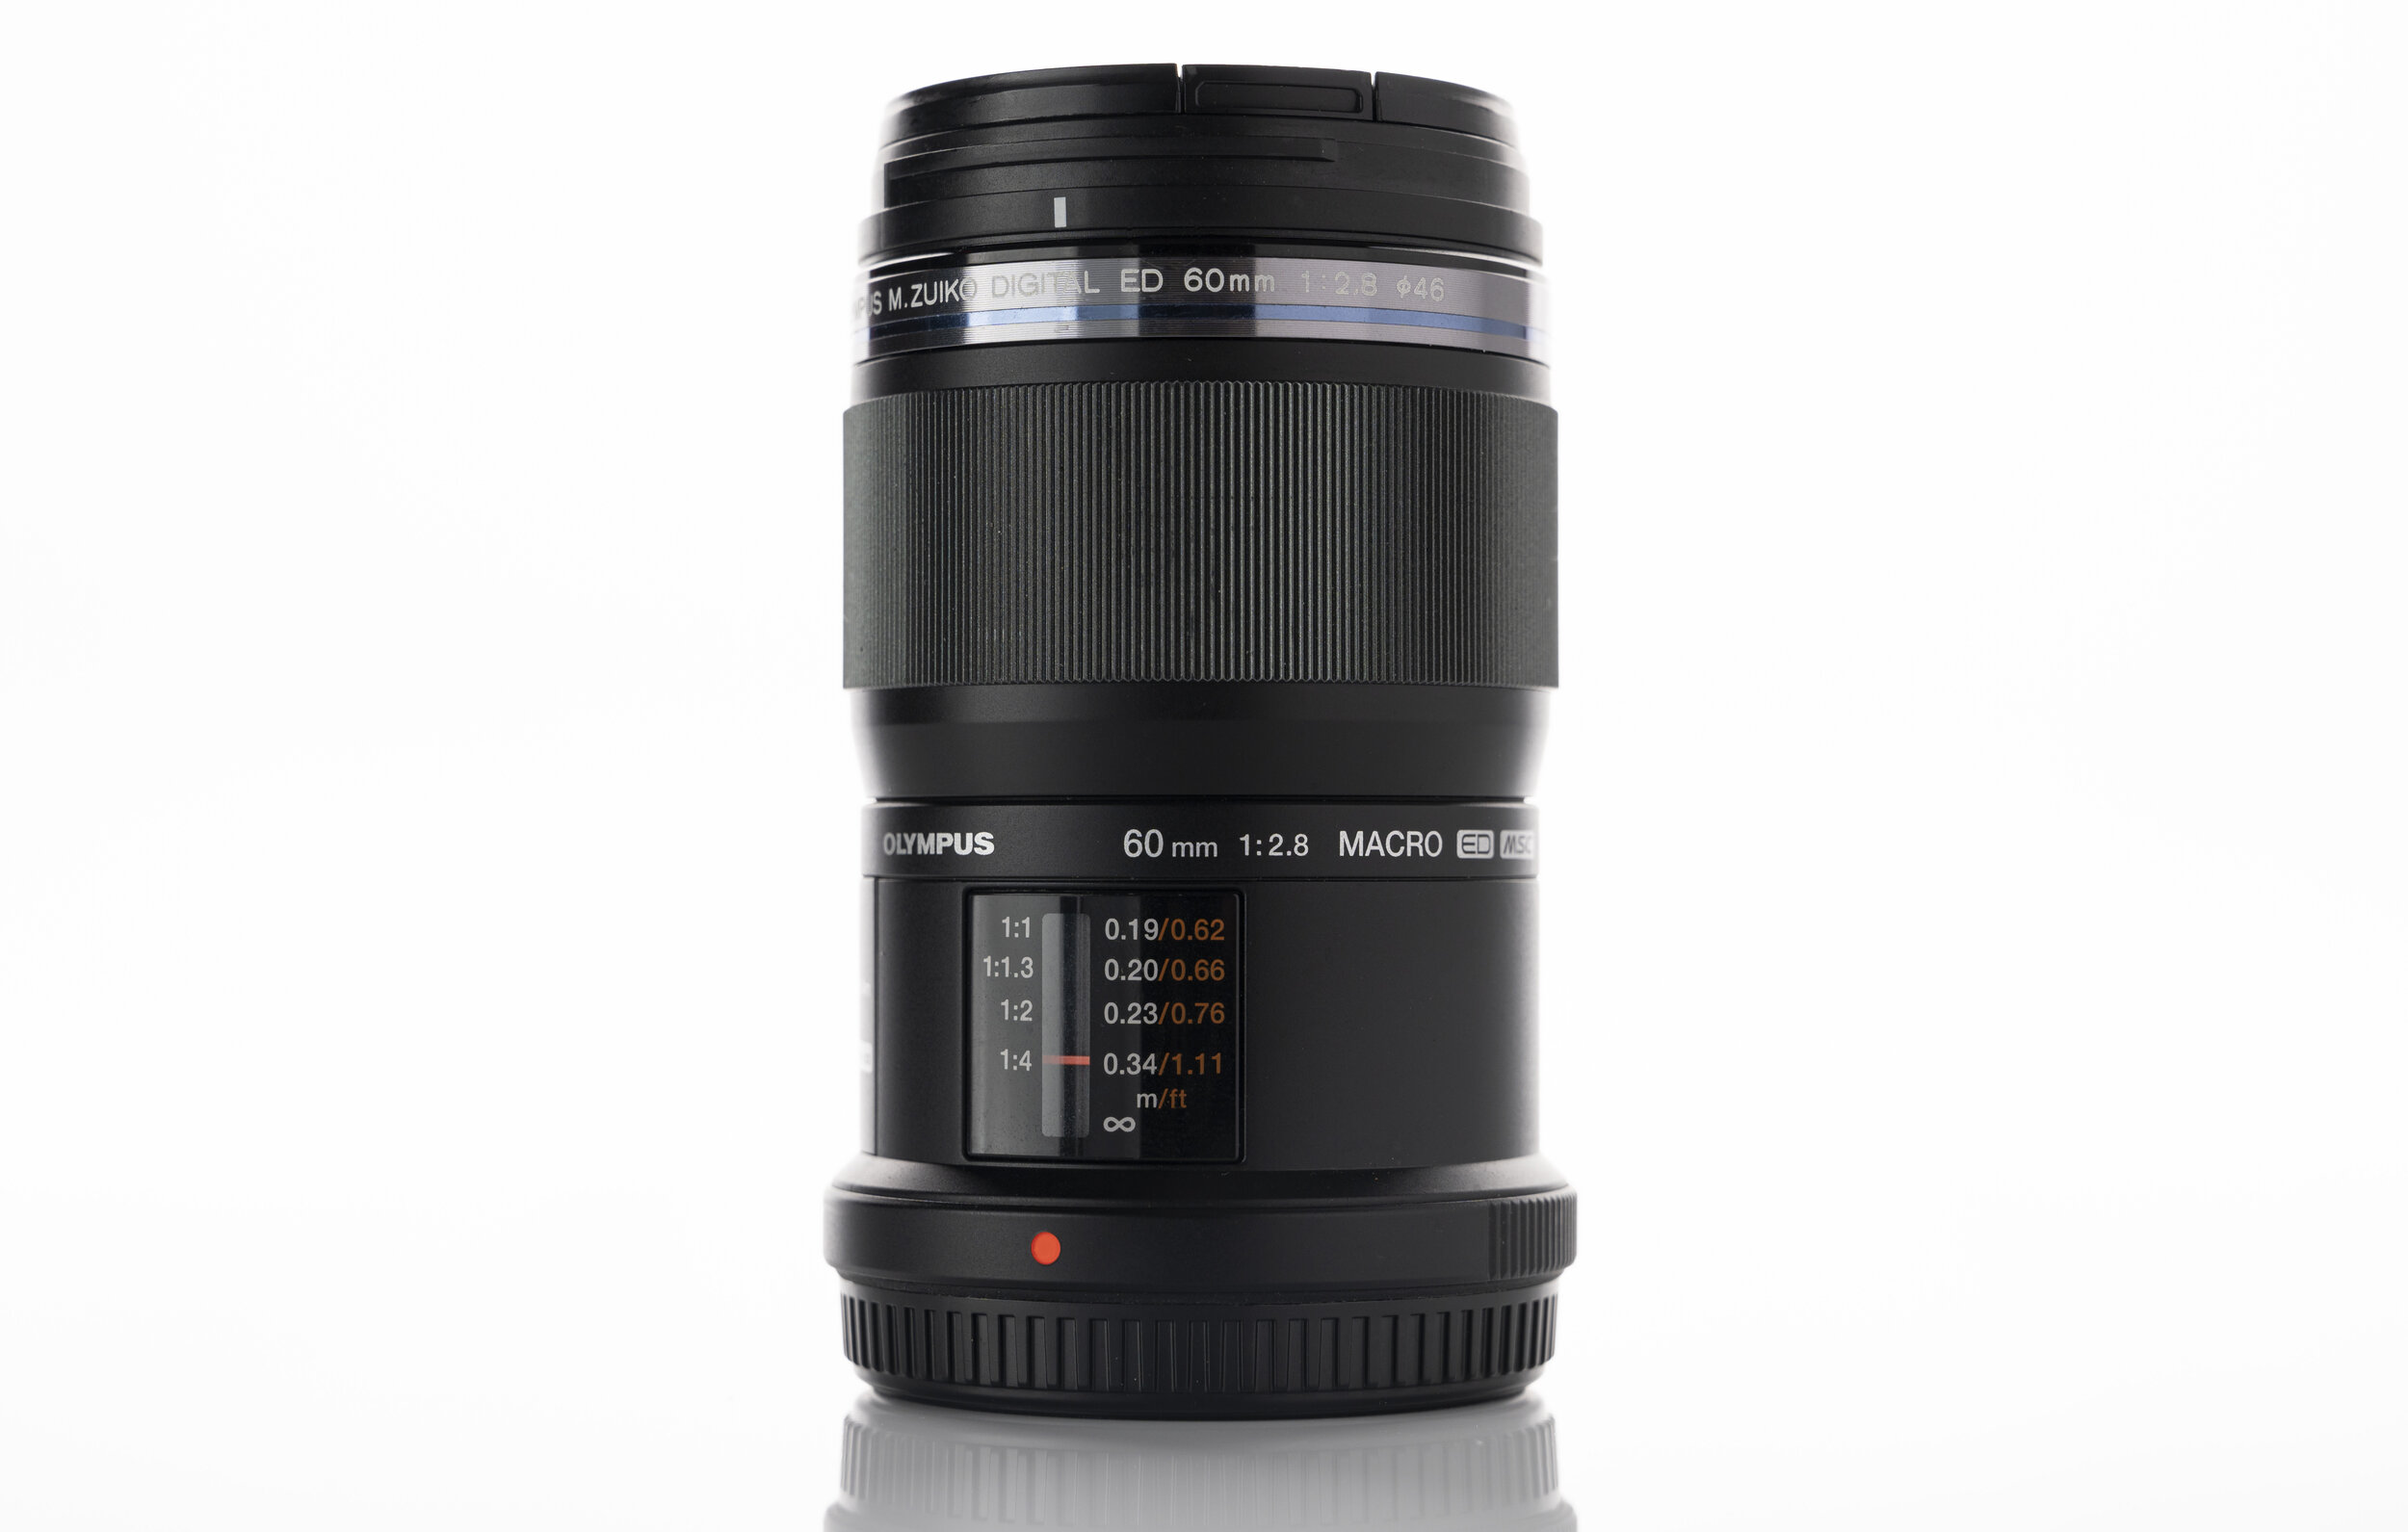
How you can get up close and show your customers what it looks like at the macro level.
First of all, what is macro photography? Macro photography is extreme close-up photography, usually of very small subjects and living organisms like insects, in which the size of the subject in the photograph is greater than life-size.
Basically making small things look huge!
To get these shots, you can use anything from your phones to a point and shoot and up to a professional DSLR/Mirrorless camera. Whichever one you choose will impact the level of control you have with the image. So base your choice of equipment on the needs you have.
Here are some of my tips so you can start creating your own macro shots now.
Life through the lens.
Macro shots are taken by getting your camera up really close to your subject. However, not all lenses allow you to get as close as you want. If this is the problem you’re having, you might need to invest in a new lens to get that look. If you’re using a point and shoot, most of them are already set up with a macro option. If not, Moment is one company that makes macro (and other cool lenses) for your phone and all camera companies will have several different macro lenses for your DSLR/Mirrorless camera. The choice of these lenses will come down to what focal length you want (something wide like 24mm, a more ‘normal’ view like 60mm, or more compression with 150mm).
Keep your balance.
Setting up your camera so it doesn’t move eliminates the chances of camera shake. As you’re taking an image of something small even tiny movements can ruin the image. Think about ways that you can balance your camera. Can you lean it against something sturdy, use a small beanbag under your camera to help level it, or buy a tripod to really keep it steady? But don’t worry, you don’t have to get anything massive, something like a Platypod is awesome for smaller subjects.
(Don’t) Shake it, baby.
Turn off VR…no, not virtual reality but your camera or lens vibration reduction. This is a great feature if you are hand-holding your camera to stop capturing shakes. But when you are using a tripod or other ways to stabilise the camera, VR can be detrimental to your images as it tries to search for shakes to stabilise.
Focus.
You might think autofocus would be the best thing to use, and if you are using your phone’s camera it might be the only thing you can use. But whenever you can, switch autofocus off and manually focus your lens. Many cameras now let you zoom into the focus point so you can really check what you are doing. And if you are feeling more adventurous, you can focus on several different areas of your subject and focus stack those images…but that’s something for another blog.
Use extra light.
Just by getting close up you’re going to start blocking light from your subject. If you find this is happening, it’s time to getting some extra light onto the scene. If you don’t have any available then try opening up your aperture (say from F5.6 to F4), slowing your shutter speed (say from 1/200 to 1/60 or slower though beware, doing this will introduce movement if shooting a moving subject or the camera isn’t on a tripod) or increase your ISO (too high and this will start to introduce grain/noise to the image).
What next?
Now you have some ideas of what to do the best thing to do is go and try it for yourself. The best way to learn is to try it yourself. But while you are trying, if you have any questions about what you are doing, get in touch.
If you would like to hire me for your product, food or drink photography, call or email me.
Alternatively, to receive updates about the projects I’m working on sign up for my newsletter.


